Quick answer:
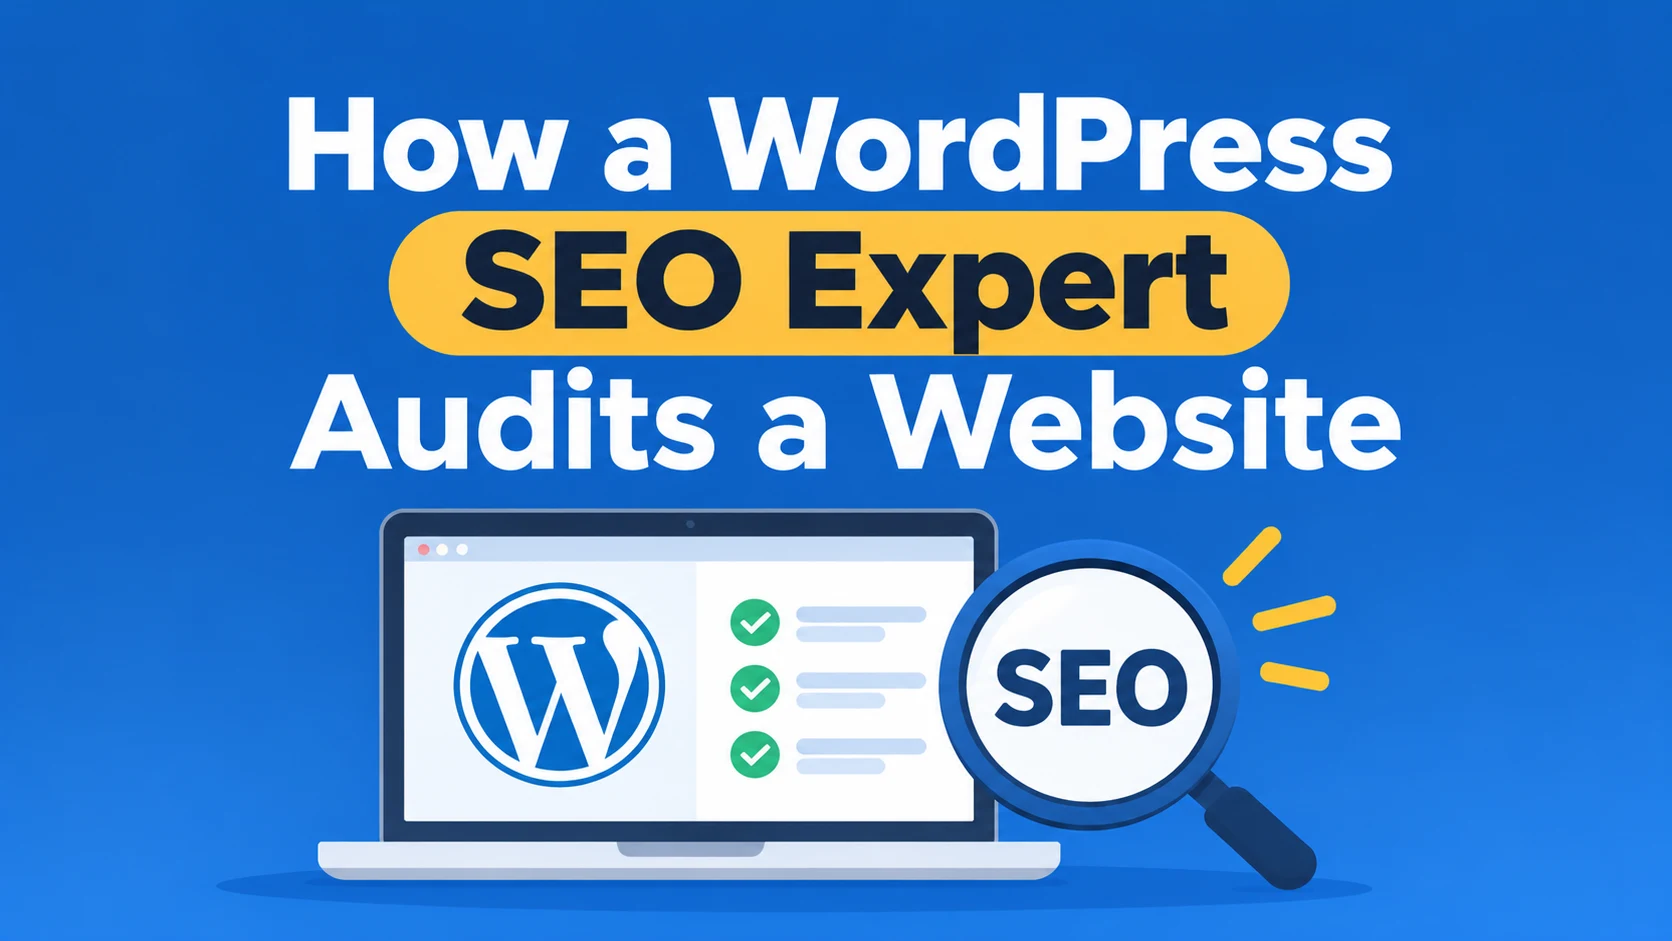
A WordPress SEO expert audits a site in a fixed order: record a traffic baseline, confirm the right pages are indexed, crawl the site for technical errors, check WordPress-specific settings and plugins, test speed and mobile, review content and keyword targeting, validate schema, analyze internal and external links, then rank every finding by impact and effort.
 FoundHint Local SEO WordPress
Optimize your Google Business Profile without leaving WordPress
Connect your GBP profile, compare it with your website and fix the gaps FoundHint finds.
- Business Profile audit and optimization
- Google Post scheduling
- Review management and replies
- Local rank tracking on a map grid
Your content is good. Your service is better than the competition’s.
And yet the site sits on page two, or traffic has been sliding for six months and nobody can say why.
Usually the cause is invisible from the front end: a template quietly set to noindex, 900 thin tag pages soaking up crawl attention, two plugins printing conflicting schema.
An SEO audit finds those problems. What separates an expert audit from a 200-item automated report is the order and the judgment: start with data, rule out the issues that can wipe out traffic, then work down to the ones that only nudge it.
This guide walks through that process phase by phase, with the exact WordPress screens and free tools to use, so you can run it yourself or know what to expect from someone you hire.
The 9-Phase WordPress SEO Audit
Phase 1: Record a baseline
Before touching anything, capture where the site stands, so you can prove later what worked.
- In Google Search Console > Performance, export the last 16 months of clicks, impressions and position by page and by query.
- In Google Analytics, note organic sessions and conversions (calls, forms, sales) by landing page.
- Mark the dates of known events on a timeline: redesigns, migrations, plugin changes, Google core updates. A drop that lines up with a migration has a very different cause from one that lines up with an algorithm update.
Phase 2: Confirm the right pages are indexed
This is where the catastrophic problems live, so it comes first.
- Settings > Reading: make sure “Discourage search engines from indexing this site” is unticked. It’s often left on after a launch from staging.
- Search Console > Pages: review “Not indexed” reasons. “Excluded by noindex tag” on pages you want ranking is urgent. “Crawled, currently not indexed” in large numbers usually signals thin or duplicate content.
- URL Inspection: test your five most important pages. Check the Google-selected canonical matches your own.
- Compare the number of indexed pages with the number of pages you actually want indexed. A 40-page business site with 1,200 indexed URLs has a bloat problem.
Phase 3: Crawl the site
Run a crawler such as Screaming Frog (free up to 500 URLs) or Sitebulb. Export and filter for:
- 4xx errors and broken internal links
- Redirect chains (A to B to C) and redirect loops
- Mixed HTTP/HTTPS and www/non-www versions that don’t redirect to one preferred URL
- Missing, duplicate or over-long title tags and meta descriptions
- Missing or multiple H1s
- Canonical tags pointing to the wrong URL or to redirected pages
- Orphan pages (in the sitemap but with no internal links pointing to them)
Phase 4: Check WordPress-specific settings and plugins
This phase is what a WordPress specialist adds over a generic audit.
- Archive bloat: tag pages with one post each, date archives, author archives on single-author sites. Noindex or remove them from the sitemap.
- Attachment pages: check whether /?attachment_id= or image URLs are indexed. Turn attachment pages off in Settings > Media (WordPress 6.4+) or redirect them.
- Duplicate plugins: two SEO plugins, or an SEO plugin plus a theme’s own schema, often print two sets of titles, canonicals or schema. View source on a key page and search for duplicate
<title>andapplication/ld+jsonblocks. - Permalinks: confirm Settings > Permalinks uses Post name and hasn’t changed recently without redirects.
- Sitemap: open /wp-sitemap.xml (or your plugin’s sitemap) and check it lists only pages you want indexed.
- Plugin health: flag plugins not updated in over a year, inactive plugins, and page builders loading scripts on every page.
Phase 5: Test speed, Core Web Vitals and mobile
- In Search Console > Core Web Vitals, check which URL groups fail LCP (target 2.5 s or less), INP (200 ms or less) or CLS (0.1 or less) on mobile.
- Run your top templates (home, service page, blog post) through PageSpeed Insights. Fix per template, not per page.
- Open key pages on a real phone: tap targets, readable text, sticky elements covering content, and click-to-call working.
Phase 6: Review content and keyword targeting
- Map each important page to one primary keyword. Two pages on the same keyword is cannibalization: merge or retarget.
- Find pages with high impressions and low CTR (titles and descriptions to rewrite) and queries in positions 8 to 20 (content to expand).
- Flag thin pages (under about 300 words with no unique value), outdated posts, and near-duplicates such as location pages that differ only by the city name.
- Check that service pages match commercial intent and blog posts match informational intent.
Phase 7: Validate schema
- Test key pages in Google’s Rich Results Test and the Schema Markup Validator.
- Check for errors, missing required properties, and schema describing things not visible on the page (a common cause of manual actions).
- For local businesses, confirm LocalBusiness schema exists and its name, address and phone exactly match the site and your Google Business Profile.
Phase 8: Analyze internal and external links
- Internal: which pages get the most internal links? Usually it should be your money pages, not your privacy policy. Find important pages buried more than three clicks from the home page.
- External: in Search Console > Links, review top linking sites and linked pages. Look for valuable old links pointing at URLs that now 404, and redirect them.
- Competitors: compare the referring domains of the top three sites for your main keywords. The gap tells you how much link work the strategy needs.
Phase 9: Prioritize and report
Score every finding on two axes: impact (how much traffic or revenue it affects) and effort (hours to fix). Then sort:
- Critical: anything blocking indexing of important pages. Fix today.
- High impact, low effort: titles on high-impression pages, broken links on top pages, redirecting lost backlinks.
- High impact, high effort: content consolidation, speed fixes on templates, site structure changes. Plan these.
- Low impact: cosmetic warnings from tools. Batch them or ignore them.
A good report fits on a page: the top ten issues, why each matters, who owns the fix, and how you’ll verify it.
The Local SEO Layer Most Audits Skip
If you serve customers in a specific area, a standard audit misses half the picture. Google’s local pack is driven by your Google Business Profile, reviews, citations and proximity as much as by your website.
Add these checks:
- Is the name, address and phone (NAP) identical on the site, the Google Business Profile and major directories?
- Does each location or service area have its own page with unique content?
- Does the Google Business Profile use the right primary category and list your services?
- How many reviews do you have, how recent, and are you replying?
- Where do you rank on the map, not just at your office address but across your whole service area?
FoundHint automates this layer from your WordPress dashboard.
Its local SEO audit scans for local issues and gives you a prioritized fix list, the NAP and citation manager flags mismatches, and the local SEO grid shows your map ranking point by point across your area.
For the full local checklist, see our Local SEO Checklist.
How Often Should You Audit a WordPress Site?
Run a full audit once a year, and a light check (Search Console Pages report, Core Web Vitals, top-page rankings) monthly. Always audit before and after a redesign, migration, theme change or switch of SEO plugin. Those are the moments sites lose the most traffic.
Frequently Asked Questions
What does a WordPress SEO audit include?
A traffic baseline, indexing and crawl checks, WordPress-specific settings and plugins, speed and mobile, content and keyword targeting, schema validation, link analysis, and a prioritized list of fixes.
How long does a WordPress SEO audit take?
A small business site of under 100 pages takes an expert roughly one to two days. Large sites, e-commerce stores and multi-location businesses can take a week or more.
Can I audit my WordPress site myself?
Yes. Google Search Console, PageSpeed Insights, the Rich Results Test and the free version of Screaming Frog cover most of the checks above. The hard part is interpreting results and prioritizing, which is where experience pays off.
What are the most common WordPress SEO problems?
Accidental noindex settings, thin tag and attachment pages being indexed, duplicate titles and schema from overlapping plugins, missing redirects after URL changes, slow page builder templates, and several pages competing for the same keyword.
How much does a WordPress SEO audit cost?
Prices vary widely by site size and market, from a few hundred dollars for a small site to several thousand for a large store. Ask what’s included: a raw tool export is worth far less than a prioritized plan with explanations.
FoundHint Local SEO WordPress
Optimize your Google Business Profile without leaving WordPress
Connect your GBP profile, compare it with your website and fix the gaps FoundHint finds.
- Business Profile audit and optimization
- Google Post scheduling
- Review management and replies
- Local rank tracking on a map grid